

If you want to reach your home or office PC from a Windows on ARM laptop, start by choosing the installer that matches each device. This guide walks through setup and the first connection with AirDesk.
Check your system type
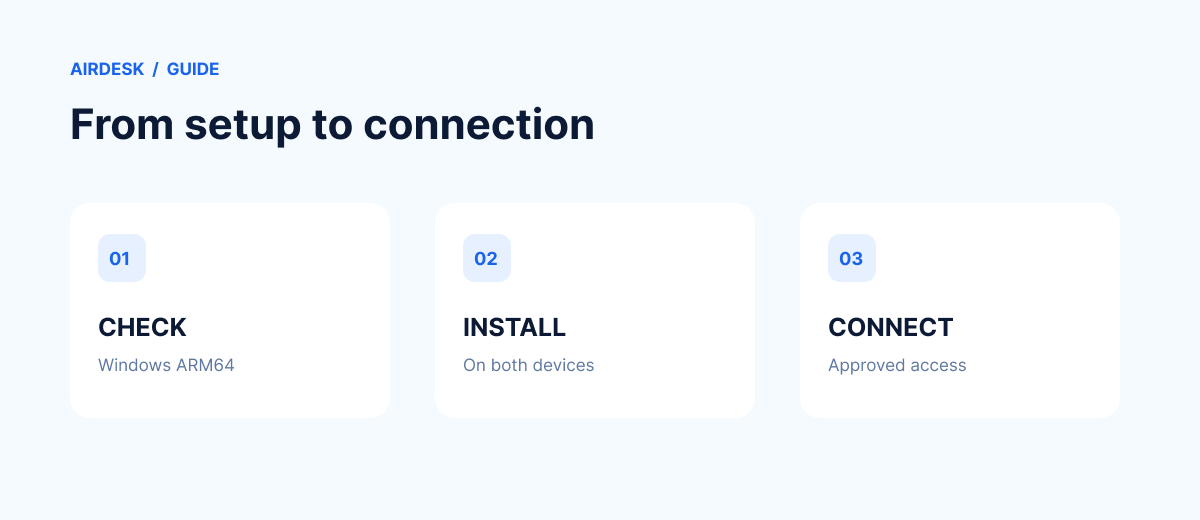
On Windows, open Settings → System → About and check System type. Choose the Windows ARM64 installer for an ARM-based processor, or Windows x64 for a typical Intel or AMD PC. Verify the system type instead of relying on the laptop name.
Apple Silicon Macs also use ARM processors, but Mac and Windows installers are not interchangeable.
Install on both devices
Open the AirDesk download page and select the installer for each device. Install the app on the remote PC and the device you will use to connect. Follow the installation and permission prompts.
Prepare the host and connect
Sign in to the same account on both devices. On the remote PC, enable My PC Sharing and check its readiness. Keep that PC powered on and connected to the internet. Review sleep settings and test from the network you intend to use before leaving.
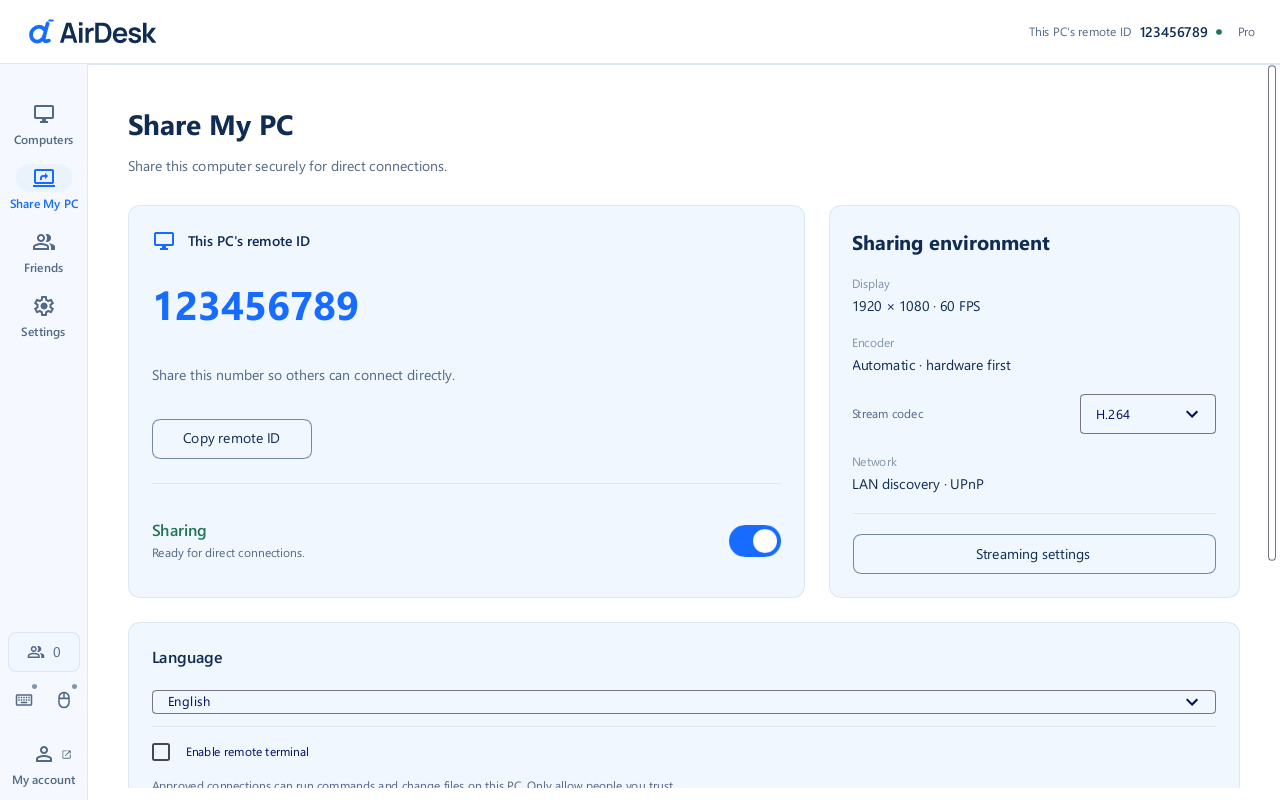
Example.
On the connecting device, select your online PC from the computer list. Check that the screen updates and that keyboard and mouse input work. Access to a shared PC requires the owner's permission.
If you cannot connect
- Check internet access, host power and sleep settings.
- Confirm that the host app is running and sharing is enabled.
- Update both apps and check firewall or company network policy. Ask an administrator about required connectivity rather than disabling the entire firewall.
- If video works but input does not, review the host's permissions and security software.
AirDesk Free is for personal use and supports up to five registered computers. Network conditions and device support vary, so test your own setup. See the installation and connection guide for more details.